How to Make OverlayPanel Smaller in PrimeVue: A Step-by-Step Guide
Key Takeaways
- Resizing the OverlayPanel in PrimeVue enhances UI functionality and makes your app more user-friendly.
- Learn three simple methods for customizing—inline styles, custom CSS, and dynamic resizing—to fit your design needs.
- Small layout tweaks can improve readability, boost usability, and give your app a clean, professional appearance.
- Master responsive design techniques to ensure your OverlayPanel adapts perfectly to different devices, including mobile screens.
- PrimeVue’s flexibility and ease of use make it an excellent choice for effortlessly building polished, accessible applications.
Have you struggled with oversized UI components that clutter your application’s interface? An overly large OverlayPanel in PrimeVue can disrupt the user experience, making your interface feel less intuitive and polished. Minor design tweaks, like OverlayPanel Smaller in PrimeVue, can significantly improve usability and design flow.
PrimeVue is a popular library for Vue.js that offers UI components to create responsive and feature-rich apps. Among its tools is the OverlayPanel, a powerful component used to display information as a floating panel. While functional out of the box, customizing its size can meet specific UI/UX needs and enhance user satisfaction.
Resizing the OverlayPanel is essential to making your design more clean and user-friendly. A smaller, well-fitted OverlayPanel improves readability, aligns with user intent, and adds professionalism to your app design.
This guide will provide step-by-step instructions to help developers who aim for seamless customization. Let’s make your OverlayPanel work better for your project!
Understanding the OverlayPanel Component
What is OverlayPanel?
The OverlayPanel is a versatile, floating UI element in the PrimeVue library. It helps you display extra information without cluttering your primary interface. Developers typically use it to show forms, menus, or other details without changing the entire screen. Its purpose is to simplify user interactions by offering quick access to additional content and enhancing app usability.
Everyday use cases for the OverlayPanel include:
- Displaying detailed information like product descriptions or user profiles.
- Presenting short forms for tasks like signups or feedback submissions.
- Creating dropdown menus in navigation bars for better accessibility.
The OverlayPanel adapts to a wide range of needs, making it a practical tool for modern apps. As the saying goes, ‘A well-designed interface speaks volumes,’ when used thoughtfully, OverlayPanel can help achieve that.
Just like how the Space Tech Lab ASP 10001-ES enhances audio experiences with its advanced features, the OverlayPanel enhances user interfaces with its flexibility and customization options.
Default Size and Limitations
The OverlayPanel has a predefined size by default, which may not suit all designs. This default size might work for simple use cases, but complex layouts often require customization. Larger panels can overwhelm users by taking up too much screen space, especially on smaller devices.
Common pain points caused by the default size include:
- Overlapping other UI elements can confuse or frustrate users.
- Being too large for small devices disrupts mobile-friendly designs.
- Worsening readability by crowding the interface and shifting focus from key tasks.
“Small tweaks bring big improvements,” and resizing the OverlayPanel ensures it aligns with your app’s design and user intent. Understanding these limitations allows developers to optimize the user experience while maintaining a clean and professional look.
Why Resolving Size Issues Matters
Fixing OverlayPanel size issues ensures your app remains functional, user-focused, and visually appealing. It meets design expectations, improves navigation, and builds user trust—key factors for success in today’s digital experience.
Step-by-Step Guide to Resize OverlayPanel in PrimeVue
Resizing the OverlayPanel in PrimeVue improves user experience and matches your app’s design. Here’s a simple step-by-step guide to help you achieve this.
Prerequisites
Before you begin, ensure you have the following in place:
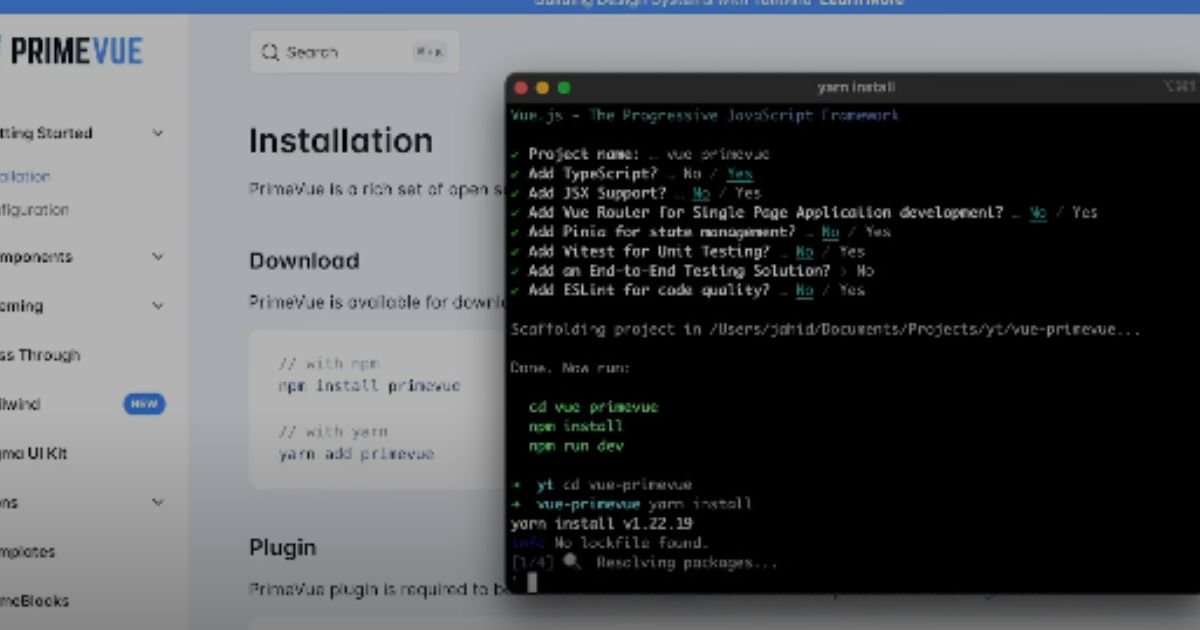
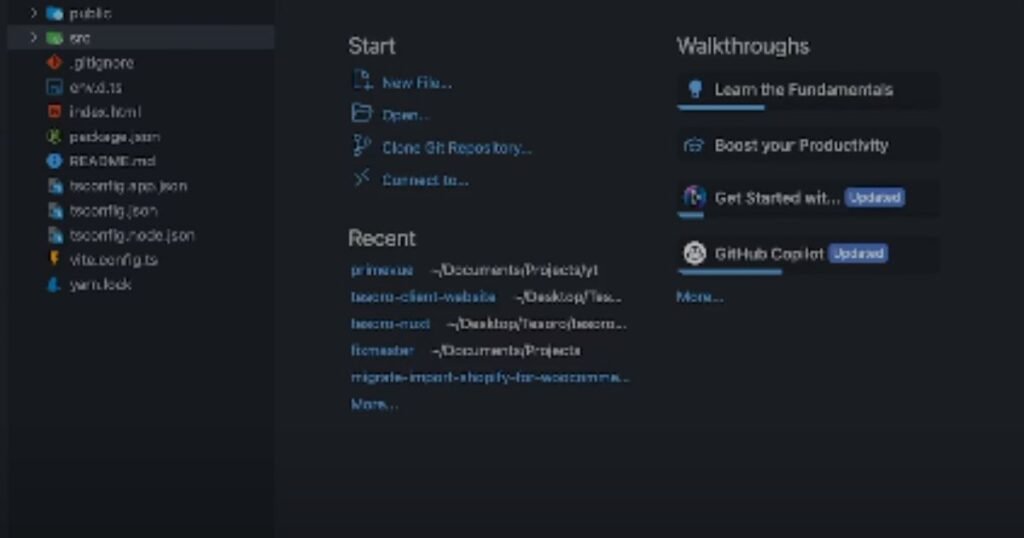
- PrimeVue installed and set up in your Vue.js project.
- Basic understanding of Vue.js and CSS.
- Willingness to customize for better usability.
Method 1: Using Inline Styles
Inline styles allow quick and straightforward resizing of the OverlayPanel.
Code Example
Here’s how to apply inline styles to adjust the size instantly.
vue:
<OverlayPanel :style=”{ width: ‘300px’, height: ‘200px’ }”>
<!– Content –>
</OverlayPanel>
”’
Explanation:
- Inline styles directly modify the size without needing extra CSS files.
- Best for quick changes or unique use cases.
- Enables exact control over dimensions like width and height.
“Simplicity is the ultimate sophistication.” Using inline styles ensures fast and effective adjustments.
Method 2: Custom CSS Classes
For reusable and scalable solutions, custom CSS classes are the best choice.
Code Example:
Define a custom class in your CSS file, then apply it to the OverlayPanel.
CSS File:
”’
CSS:
.custom-overlay {
width: 300px !important;
height: 200px !important;
}
”’
vue:
<OverlayPanel class=”custom-overlay”>
<!– Content –>
</OverlayPanel>
”’
Benefits:
- Reusability is a key advantage of this approach.
- Allows consistent styling across multiple components.
- Keeps inline styles minimal for cleaner code.
“Write reusable code, save time in the future.” Custom CSS creates flexibility in development.
Method 3: Dynamic Resizing with Vue.js
Dynamic resizing based on user interaction or screen size is essential for responsive apps.
Code Example:
This method adjusts properties dynamically using Vue.js reactive data.
”’
vue:
<template>
<OverlayPanel :style=”{ width: overlayWidth, height: overlayHeight }”>
<!– Content –>
</OverlayPanel>
</template>
<script>
export default {
data() {
return {
overlayWidth: ‘300px’,
overlayHeight: ‘200px’,
};
},
};
</script>
”’
Use Cases:
- Ideal for dynamically resizing during runtime.
- Perfect for responding to screen size changes or user preferences.
Why Choose This Method?
Dynamic resizing provides flexibility and improves the user experience for responsive apps.
“Responsive designs build happy users.” Adapting size dynamically boosts usability on all devices.
Resizing the OverlayPanel in PrimeVue is crucial for crafting a polished user interface. Whether you choose inline styles for quick fixes, custom classes for reusable solutions, or dynamic resizing for flexible designs, each method serves a specific purpose. Select the best method for your app’s needs, and improve usability with simple yet effective changes.
Optimize your app for users and empower them with seamless interactions every time.
Best Practices for Responsive OverlayPanel Design

Creating a responsive OverlayPanel enhances user experience across different devices. By following these best practices, you can ensure your design is functional, accessible, and user-friendly.
1. Ensure Mobile-Friendliness
Adapting your OverlayPanel to smaller screens is crucial for usability.
- Use media queries to adjust the width and height of mobile devices.
- Ensure the panel does not exceed the screen, avoiding horizontal scrolling.
- Keep tap targets large enough for easy interaction on touchscreens.
“Design mobile-first to create seamless interactions for everyone.”
2. Tips for OverlayPanel Responsiveness on Small Screens
- Limit the content to prevent overcrowding or overwhelming users.
- Set a maximum width and height to maintain readability.
- Test your design using tools like Chrome DevTools for different resolutions.
3. Maintain Accessibility
Accessibility isn’t optional; it’s a necessity for all users.
- Ensure the text inside the OverlayPanel is straightforward to read.
- Make interactive elements like buttons and links highly clickable and keyboard accessible.
- Use ARIA roles when necessary to make the panel screen-reader-friendly.
“Accessible design benefits everyone, not just users with disabilities.”
4. Test Across Browsers
A responsive panel looks different across browsers.
- Test in popular browsers like Chrome, Edge, Firefox, and Safari.
- Pay attention to variations in rendering or unexpected layout issues.
- Use browser developer tools to isolate and fix inconsistencies.
Troubleshooting Common Issues
OverlayPanel Not Resizing Properly:
- Check for conflicting CSS rules or custom inline styles.
- Add `!important` if necessary to override unwanted styles.
- Confirm your JavaScript logic for resizing is firing correctly.
Content Overflow Challenges:
- Use `overflow-y: auto;` to add scrollbars for large content.
- Implement `text-overflow: ellipsis;` for trimming overflowing text.
- Allow users to expand the panel, keeping content accessible.
Performance Considerations
Design impacts performance and user satisfaction directly.
- Avoid frequent re-renders by caching data where possible.
- Minimize layout shifts by using consistent dimensions.
- Optimize animations to prevent lag or excessive CPU usage.
“Fast apps keep users happy and engaged.”
Following these practical tips, you can build a responsive OverlayPanel that works effortlessly on any device. Partner accessibility with cross-browser compatibility for an app that delights and empowers your users.
Advanced Customization Tips
Adding Animations
Smooth animations make your app feel modern and professional. Adding transitions like fading or sliding dramatically enhances the user experience.
Use CSS transitions or PrimeVue’s built-in animation hooks to create seamless effects. For example, apply a smooth resize animation when expanding or collapsing the OverlayPanel.
This keeps interactions engaging and visually appealing. As design experts often say, “Animations create delight while improving usability. “
Integrating with Other PrimeVue Components
The PrimeVue OverlayPanel can integrate seamlessly with Dialogs, Menus, and other UI components. For instance, pairing it with a Menu ensures dropdown selections work without conflicts.
Combine it with Dialogs for advanced layouts, like modal editing or additional tools. By managing visibility and event triggers, you can ensure effortless component interactions. Integration helps streamline workflows and creates a cohesive user experience.
Theming and Styling
Customizing the OverlayPanel to match your application’s theme is simple and powerful. Use PrimeVue’s theme options or CSS to adjust colors, borders, and fonts.
This alignment ensures the OverlayPanel fits naturally into your app design. Leverage theme variables to avoid redundancy and maintain a polished, professional look.
Why Choose PrimeVue for UI Development?
Benefits of PrimeVue
PrimeVue is lightweight, fast, and fully customizable, making it ideal for Vue.js apps. It streamlines the development process, ensuring your app runs efficiently across devices.
Its component library helps you create responsive designs effortlessly. “A quick app equals happy users,” as studies show user retention improves with speed.
Comparison with Other UI Libraries
Compared to other libraries like Vuetify and Element Plus, PrimeVue shines in simplicity. While Vuetify offers extensive material design options, its complexity may overwhelm beginners. Element Plus provides robust features but lacks the lightweight structure of PrimeVue.
PrimeVue hits the sweet spot for most Vue developers with speed, flexibility, and ease of use. Its open-source community ensures continuous improvement and support.
By following these tips and choosing the right tools like PrimeVue, your apps will run smoother, feel intuitive, and impress every user.
My Opinion about “How to Make OverlayPanel Smaller in PrimeVue”
As I understand it, customizing the OverlayPanel size in PrimeVue is simple and impactful. Minor tweaks, like resizing, can significantly improve layouts, especially for mobile and compact designs.
A well-sized panel enhances clarity, keeps the interface clean, and ensures better usability for all users. Resizing doesn’t just solve design issues; it makes an app look polished and thoughtful.
Whether you prefer inline styles or reusable CSS, PrimeVue’s flexibility is a dream for developers.
Overall, adapting OverlayPanel’s dimensions is necessary for creating user-friendly, modern applications that truly stand out.
FAQs
Can I make the OverlayPanel responsive without custom CSS?
You can make the OverlayPanel responsive without custom CSS by using Vue.js dynamic properties or PrimeVue’s built-in features. Adjust the size based on screen width or user interaction for a seamless experience.
How do I center the OverlayPanel on the screen?
To center the OverlayPanel, use CSS flexbox or grid properties. Add display: flex, justify-content: center, and align-items: center to the parent container for perfect alignment.
Is PrimeVue free to use?
Yes, PrimeVue is entirely free to use under the MIT license. It’s an open-source UI library designed for Vue.js developers to build modern applications without cost.
How do I change the position of the OverlayPanel?
You can change the OverlayPanel’s position using CSS properties like position: absolute or transform: translate(). Adjust the top, left, right, or bottom values to place them precisely.
Can I animate the resizing of OverlayPanel?
Yes, you can animate the resizing of the OverlayPanel using CSS transitions or Vue.js animation libraries. Add smooth transitions for width and height changes to enhance user experience.
How to maintain accessibility when customizing OverlayPanel?
Ensure the OverlayPanel is accessible using proper contrast, readable fonts, and keyboard navigation. Test with screen readers and follow WCAG guidelines for inclusive design.
Conclusion
Resizing the OverlayPanel in PrimeVue doesn’t have to feel overwhelming. Start by defining the problem and improving the layout adaptability for your app. Achieve this by adjusting the CSS settings and utilizing PrimeVue’s flexible API.
Customizing the dimensions allows a tailored user experience, enhancing usability on different devices. Proper resizing ensures the content looks polished, accessible, and professional.
Customization is key to delivering better engagement and satisfaction. Try these simple methods today, explore the possibilities, and elevate your app’s performance. Don’t forget to share your results and inspire others to create with PrimeVue!