
How to Test if RAM Works Without a Motherboard
This informative guide is all about “How to Test if RAM Works Without a Motherboard.” When troubleshooting computer hardware issues, it’s essential to identify the root cause accurately.
Testing individual components can help narrow down the problem and determine if specific hardware, like RAM modules, needs to be replaced.
In this post, we’ll walk you through step-by-step instructions on how to test your RAM’s functionality without a motherboard, enabling you to diagnose potential RAM-related issues quickly and efficiently.
Let’s dive in and get started on this useful troubleshooting technique.
What are the Safety Precautions to Test if RAM Works Without a Motherboard
- Before starting the RAM testing process, ensure that you have taken the necessary safety precautions for handling electronic components. This includes:
- To test your RAM’s functionality without a motherboard, you may need the following tools:
- Select a clean and well-lit workspace where you can comfortably carry out the RAM testing process.
- Ensure that you have a stable and static-free surface to work on, preferably a non-metallic one.
- Arrange all the necessary tools and equipment within easy reach.
Inspect the RAM:
- Before testing, visually inspect the RAM modules for any physical damage or signs of corrosion.
- Check for loose connections or bent pins on the RAM modules.
- If any abnormalities are found, consider cleaning or replacing the RAM module before proceeding with the testing.
Basic Tools for Testing RAM
When testing RAM without a motherboard, having the right tools is essential. Here’s a breakdown of the basic tools you’ll need and how they work:
1. USB-Powered RAM Tester
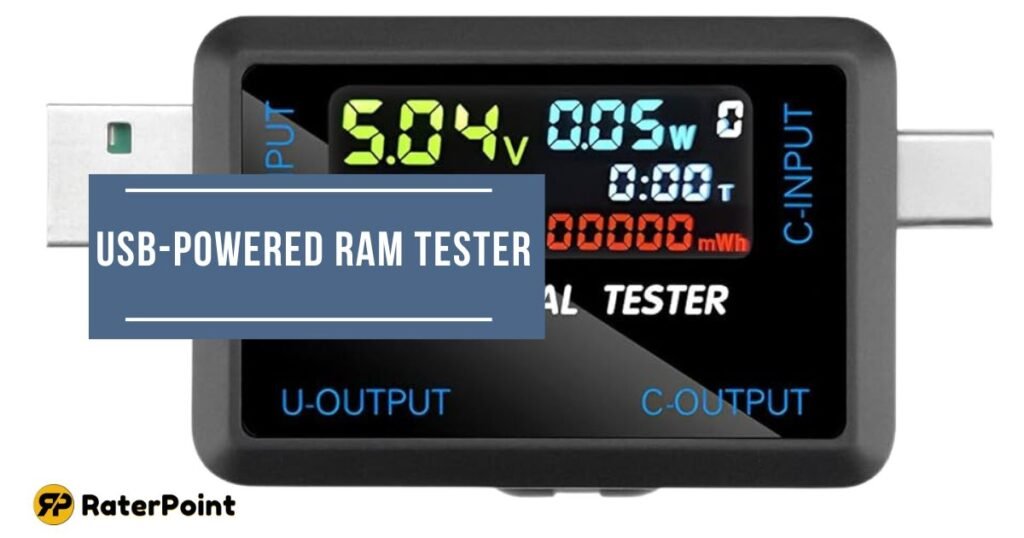
A USB-powered RAM tester is a compact and handy device designed to check whether your RAM is functioning correctly.
How It Works:
The tester is powered by a standard USB port and allows you to insert the RAM stick into its slot. Once connected, the device uses indicator lights or a small screen to show test results.
Also Read: How Many SSD Slots Does a Motherboard Have
Why It’s Useful:
- Quickly detects faulty RAM without needing a computer.
- Easy to use for beginners and professionals.
Pro Tip: Ensure the RAM tester is compatible with the type of RAM you’re testing, such as DDR3, DDR4, or older types.
2. Multimeter for Checking Basic Connections
An electronic device that measures voltage, current, and resistance is called a multimeter. While it can’t fully test RAM functionality, it’s helpful for verifying electrical connections.
How It Works:
Use the multimeter’s probes to check the continuity of the RAM pins. If the circuit is broken, the RAM might be damaged.
Why It’s Useful:
- Identifies physical issues, like broken connections.
- A budget-friendly option for basic diagnostics.
Pro Tip: Handle the multimeter carefully and follow its instructions to avoid inaccurate readings or accidental damage to the RAM.
3. Alternative Tools: RAM Diagnostic Software
If you can access another computer, you can use RAM diagnostic software to test the RAM stick. While this requires temporarily installing the RAM into a working system, it offers detailed results.
Examples:
- MemTest86: A popular tool for thorough RAM testing.
- Built-in System Tools: Many operating systems have diagnostic tools for quick checks.
Why It’s Useful:
- Provides detailed insights, like memory errors and performance issues.
- Ideal if hardware testing tools are unavailable.
Pro Tip: If using software, make sure the RAM matches the system’s specifications to avoid compatibility problems.
By using these tools, you can efficiently test your RAM’s condition and identify any faults, even without a motherboard.
Step-by-Step Guide: How to Test RAM Without a Motherboard
Step 1: Use a USB-Powered RAM Tester
A USB-powered RAM tester is one of the simplest tools to determine whether your RAM is working correctly without needing a computer. Here’s how to utilize it and how it performs.
How a USB-Powered RAM Tester Works
A USB-powered RAM tester is a compact device designed to check a RAM module’s functionality.
- Power Source: The tester is powered by plugging it into a USB port, either on a computer or a wall adapter.
- Testing Mechanism: Once the RAM is inserted, the tester analyzes the module and provides results using indicator lights or a small display.
Why Use It? It’s an easy, portable, and quick method to identify faulty RAM sticks without requiring a motherboard or additional hardware.
Instructions for Inserting RAM into the Tester
Follow these steps to safely and correctly use a USB-powered RAM tester:
- Power Off the Device: Ensure the tester is not connected to a power source before inserting RAM.
- Identify the Correct Slot: Locate the RAM slot on the tester. It usually accommodates specific types, such as DDR3 or DDR4.
- Insert the RAM Module:
- Align the notches on the RAM with the slot to ensure proper placement.
- Press the RAM into the slot carefully until it clicks properly.
- Connect to Power: Plug the tester into a USB port or adapter to turn it on.
Pro Tip: Always handle the RAM stick by its edges to avoid static electricity damage.
Interpreting the Lights or Readings
After connecting the tester to power, observe the following indicators:
- Green Light or “Pass” Display: Indicates the RAM is functioning correctly.
- Red Light or “Fail” Display: Signals that the RAM has issues and may need repair or replacement.
- Blinking Lights or Codes: Some testers use patterns to indicate specific problems, such as memory errors or compatibility issues. Refer to the tester’s manual for details.
Key Insight: If the tester does not light up or show readings, double-check the RAM’s insertion and compatibility with the tester.
Step 2: Check Voltage with a Multimeter
Using a multimeter to check the voltage on RAM pins is a straightforward way to identify potential power delivery issues. While this method doesn’t test the full functionality of RAM, it helps detect basic electrical faults.
How to Check Power Delivery to RAM Pins with a Multimeter
Follow these simple steps to check the voltage on your RAM module:
- Prepare the Multimeter:
- Select the DC mode on your multimeter to measure voltage.
- Ensure the probes (red and black wires) are securely attached to the multimeter.
- Identify the Power Pins on the RAM:
- Refer to the RAM’s datasheet or online diagrams to locate the power (VDD) and ground (GND) pins.
- These pins are responsible for power delivery to the RAM module.
- Position the RAM Module:
- Place the RAM stick on a non-conductive surface to avoid short circuits.
- Use clamps or an assistant to hold it steady, if needed.
- Test the Voltage:
- Touch the red probe to the power pin (VDD) and the black probe to the ground pin (GND).
- Power on the circuit or device connected to the RAM and check the reading.
- Record the Reading:
- A typical RAM module should show a voltage of around 1.2V to 1.5V (depending on the type, like DDR3 or DDR4).
Safety Tip: Always ensure the RAM is not connected to a motherboard or live circuit while testing to prevent damage.
Signs That Indicate a Fault
- No Voltage Reading:
- Indicates a complete failure in power delivery, which may mean the RAM is damaged or improperly connected.
- Incorrect Voltage:
- A reading significantly higher or lower than the expected range (e.g., below 1.2V or above 1.5V) may suggest an internal fault in the RAM module.
- Unstable Readings:
- Fluctuating voltage suggests intermittent power issues, which can cause system crashes or instability.
Troubleshooting Tip: If faults are detected, clean the RAM pins gently with isopropyl alcohol and retest. If the issue persists, the RAM may need replacement.
Step 3: Physical Inspection of RAM
A physical inspection of your RAM is a simple yet essential step in diagnosing issues. Damaged or dirty RAM can cause malfunctions, so examining it carefully can help identify visible problems that testing tools may not detect.
Look for Visible Damage
Keep watch out for the following signals of damage when checking your RAM:
- Burn Marks or Scorching:
- Check the circuit board and components for blackened or discolored areas.
- Burn marks indicate overheating or an electrical short, which often means the RAM is beyond repair.
- Bent or Damaged Pins:
- Inspect the metal connectors (pins) on the bottom of the RAM stick.
- Bent or broken pins can disrupt the connection between the RAM and the slot, leading to errors.
- Cracks or Physical Breaks:
- Look for any cracks on the PCB (Printed Circuit Board) or chips that appear loose or damaged.
Pro Tip: Use a magnifying glass or a bright light for a closer look at small components.
Cleaning Tips for Dusty or Dirty RAM Sticks
Over time, dust and debris can build up on RAM sticks, reducing their functionality. Here’s how to clean them safely:
- Gather the Right Tools:
- Use a soft, lint-free cloth, a can of compressed air, and isopropyl alcohol (90% or higher).
- Avoid using water or abrasive materials that could damage the RAM.
- Clean the Connectors:
- Using a cloth slightly saturated with isopropyl alcohol, carefully clean the gold connectors (pins).
- Let it dry completely before reinserting the RAM.
- Remove Dust from the RAM:
- Hold the RAM stick upright and blow compressed air to dislodge dust particles.
- Focus on the crevices near the chips and connectors.
- Avoid Static Damage:
- Ground yourself by touching a metal object before handling RAM.
- Place the RAM on an anti-static mat during cleaning.
Important: Do not scrape the connectors or apply excessive pressure, as this can cause permanent damage.
Conclusion
Testing RAM without a motherboard is simple, with the right tools and precautions. Use USB testers and multimeters, or inspect them physically for damage. Ensure compatibility and safety to avoid further issues. If tests fail, consider seeking professional help for diagnosis.
FAQs: Testing and Checking RAM
How to test if RAM is working?
You can test if your RAM is working by using tools like MemTest86 or a USB-powered RAM tester. These tools detect memory errors and performance issues. Additionally, physical inspection for visible damage or cleaning of the RAM can help resolve basic problems.
How can I check my RAM without opening my computer?
You can check your RAM without opening your computer by using system diagnostic tools. For example:
- On Windows: Open Task Manager (Ctrl + Shift + Esc), go to the Performance tab, and view RAM details.
- On macOS: Use the Activity Monitor to see memory usage and status.
How do I check my RAM without BIOS?
To check RAM without accessing the BIOS, you can use diagnostic software like MemTest86 (via bootable USB) or built-in OS tools. These allow you to evaluate RAM health and performance without relying on BIOS settings.
How do I know if my RAM is active?
You can verify if your RAM is active by checking your system’s performance:
- On Windows: To keep an eye on how much memory is used on Windows, use Task Manager.
- On macOS or Linux: Use system monitors or terminal commands to view RAM activity in real-time.